Saturday, April 3, 2010
A Product Review of www.theterrainguy.com's Textured City Game Mat
Posted by The 25mm Warrior at 2:49 AM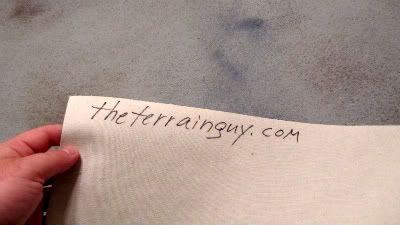
So I shelled out some dough for a game mat to go with my city terrain. I was going to buy the Games Workshop modular game table but I was dissuaded by the whole having to make it myself. What if I screwed it up? Painting is trial and error and dropping a few hundred bucks to broaden my painting skills (which are pretty non-existent) seemed like a huge gamble.
Better to leave it to the professionals.
The Textured City Game Mat from theterrainguy.com is just what the gamer ordered.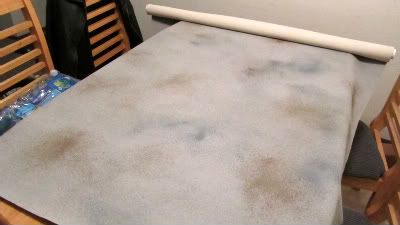
Everything about this mat is friggin great. The mat itself appears to be made from a very flexible piece of canvas. The mat is shipped rolled up with a piece of plastic pipping in the middle. It unrolls flat so there are none of those annoying creases that you get with a lot of other game mats. 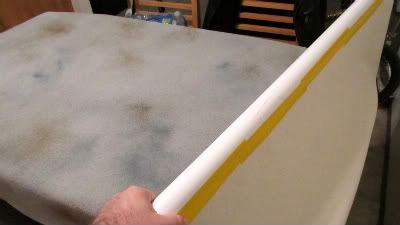
The actual playing field is very well painted with what feels like a thin rubberized coating that adds to the flexibility of the product. The rubbery texture just serves to make the mat look all the more like the ground of a ruined city.
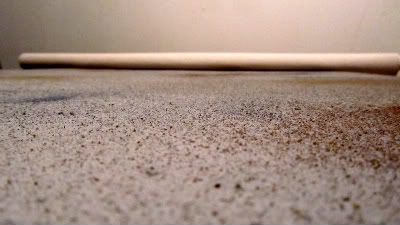
Now this is probably something that any experienced modeler could do. However if your like me with little to no experience in making terrain (let alone a whole game mat) this kind if thing is awesome for around $70.00 bucks(or maybe it was $80.00... can't remember). The only complaint I had was it took a little bit for the product to arrive at my doorstep but when I opened it up and saw what a great job theterrainguy did with it all was forgiven.
Not much more to say other than it's a good mat that looks like how it is presented on the site and shows that a lot of love and care went into making it. The sturdy construction and ease of storage makes this a convenient game mat that is going to see a lot of battles.
It's clear that with game mats from www.theterrainguy.com you can't really go wrong.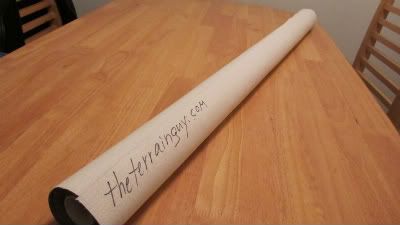




2 comments:
try adding the decal before you put on dull coat next time. The dull coat will help the decal blend in. Since you are doing it post dip, the surface the decal is going onto is already probably smooth, which will help quite a bit as well.
Will do... I don't know why I didn't think of that myself...
(hangs head in shame)
Post a Comment